Save file.
After writing a few lines of the program it is advisable the save your work. As explained early in the manual it is good to assign a USB drive for this purpose.
Press the “File” menu and choose “Save As …”.
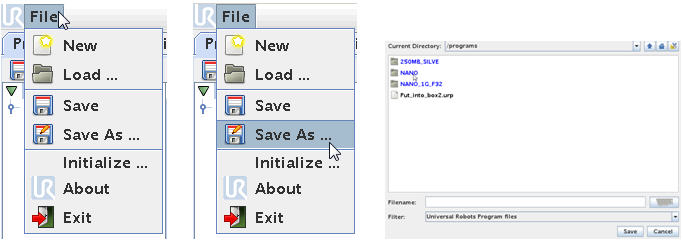
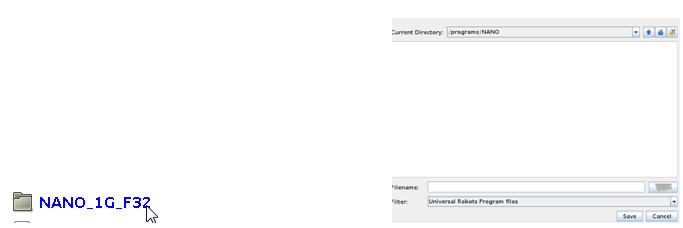
A Screen with file structure and files already present on the Hard drive (Flashcard) appears and the USB drive is already shown as a Directory. The controller recognizes the USB drive automatically.
In this case the USB drive has the name “”NANO_1G_F32” which was a name I give it while it was sitting on my office computer, but this can be any legal computer file name. Sometimes a USB drive has a default name when it is purchased and sometimes it is just without a name so you might see other names or even “unknown”. This is not important as long you know it is the USB drive you inserted to the robot controller.
Press on the name “NANO_1G_F32” to go into that directory i.e. go to the drive.

If the USB drive is empty there are no directories on the USB drive and you can use the scissor symbol to create a directory. If there is already directories from where it was in your office computer then will be shown on the Screen and you can chose to go to the sub directory. Here we will create a sub directory.
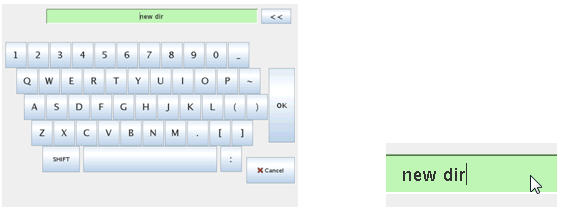
Press “Create Directory …”
The controller suggests “new dir” as a name, but better to choose something else that says something about the content of the directory.

Press behind the new dir name and use the << button to delete the “new dir” name.
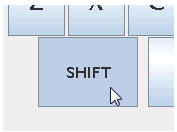

Use the onscreen keyboard to create a new name e.g. Test in this case.
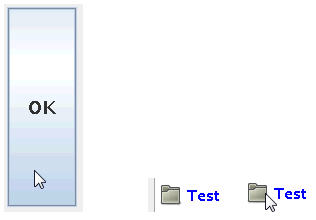
Press “OK” when finish the name.
A new directory called “Test” appears. Press on the “Test” directory to go into it.

Press the on Screen keyboard symbol to type in your desired file name for your program. In this case we call it My_first_program.
If you have connected a keyboard along with the mouse, then you can use the keyboard to key in which is much more convenient.
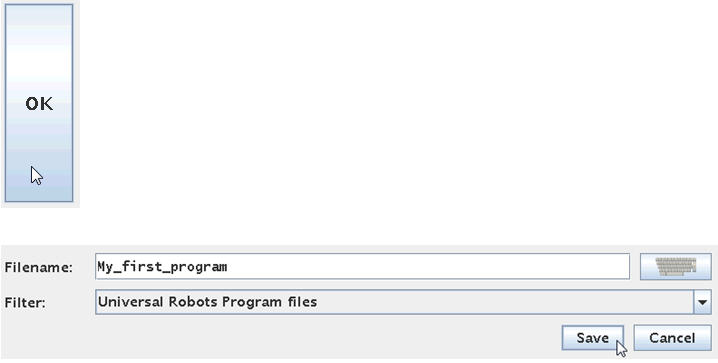
Press “OK” when finish typing. Notice after pressing “OK” the file name is listed below on the Screen.

Press “Save” to save the file and a popup messages appear to confirm the save of file.
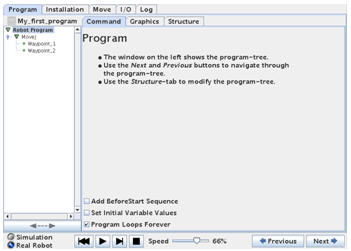
After the controller finish the save it returns to the Program tree we were working on and we can continue programming which will be explained in the next chapters.
Load a program from USB drive.
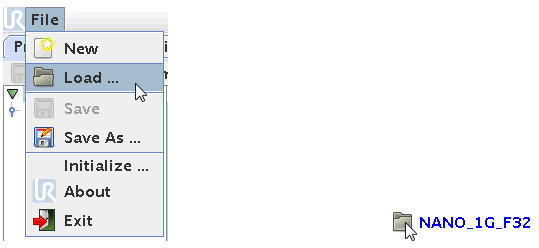
To load back a program that we previously have saved on the USB drive press the “File” menu – choose “Load”. Press on the name for the USB drive (in my case NANO_1G_F32). If you choose to create sub directories then go all the way down to your file by pressing the sub directories until you see your file you wish to load.
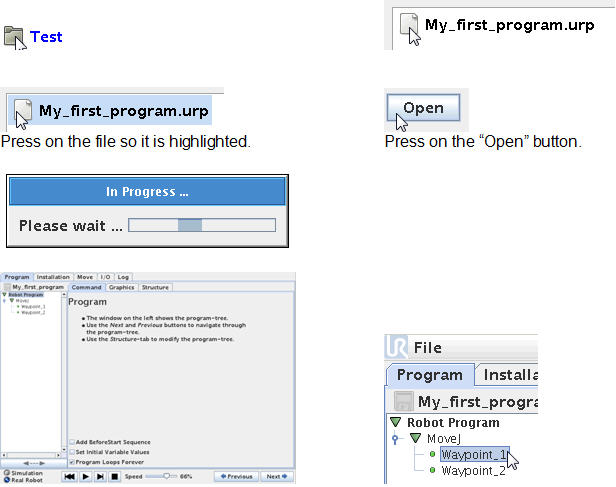
Press on the file so it is highlighted. Press on the “Open” button.
You will see your program reload into the Program tree block and you can continue to edit the program or simply use the program if is a finish ready made program.
Disclaimer: While the Zacobria Pte. Ltd. believes that information and guidance provided is correct, parties must rely upon their skill and judgement when making use of them. Zacobria Pte. Ltd. assumes no liability for loss or damage caused by error or omission, whether such an error or omission is the result of negligence or any other cause. Where reference is made to legislation it is not to be considered as legal advice. Any and all such liability is disclaimed.
If you need specific advice (for example, medical, legal, financial or risk management), please seek a professional who is licensed or knowledgeable in that area.
Author:
By Zacobria Lars Skovsgaard
Accredited 2015-2018 Universal Robots support Centre and Forum.